
Introduction
Reading Documents
Opening
On the Mac, open any Markdown file with ⌘O, or drag it onto the Dock icon or an open window. Recent files live under File → Open Recent, and each document gets its own window; macOS window tabbing works if you prefer tabs. ⌘` moves to the next PeepMD window and ⇧⌘` to the previous one.
Double-clicking a file opens it in whichever app macOS considers the default for Markdown, which is not PeepMD until you say so:
Make PeepMD your default Markdown viewer.
Right-click any .md file in Finder and choose Get Info. In the Open with section pick PeepMD, then click Change All… and confirm. From then on every Markdown file opens here on a double-click.
For a one-off, skip the change and use Finder's Open With submenu instead.
Quick Look shows Markdown the way PeepMD does. Select a Markdown file or TextBundle in Finder and press Space: the preview is the rendered page in the style you chose in PeepMD, with code colors, diagrams, and math. File icons in Finder and the Files app show the top of the page. Images beside a plain Markdown file stay out of the preview; a TextBundle carries its own and shows them.
On iPad and iPhone, PeepMD opens to the document browser. Browse reaches everything in Files: iCloud Drive, On My iPad, and any other provider you have installed. You can also send a document to PeepMD from wherever it already lives: touch and hold a file in Files, or use the share button in almost any app, and choose Open With → PeepMD. With a keyboard, ⌘` moves between PeepMD's windows on iPad too.
On Vision Pro, it is the same document browser as iPad, reaching the same places in Files. What differs is where the controls live: rather than a bar inside the window, they hang off it as ornaments, described under The status bar below. Everything else in this manual that describes iPad behavior applies here too.
TextBundle packages open the same way everywhere. Documents always open in place: PeepMD reads them where they live. The two things it writes are a property you change in the inspector and a task you check off.
Properties
A document that opens with front matter, the block of metadata between --- lines (YAML) or +++ lines (TOML) that Obsidian, Jekyll, Hugo, and many other tools keep at the top of a file, shows it in the inspector, on its Properties side. On the Mac and iPad, the Show Inspector button at the end of the toolbar opens it as a column beside the document, and on the Mac View → Show Inspector (⌃⌘I) does the same. On iPhone, choose Properties from the export menu and it opens as a sheet. The page, the word count, and the table of contents cover the document itself, and a document without front matter says so in the inspector.
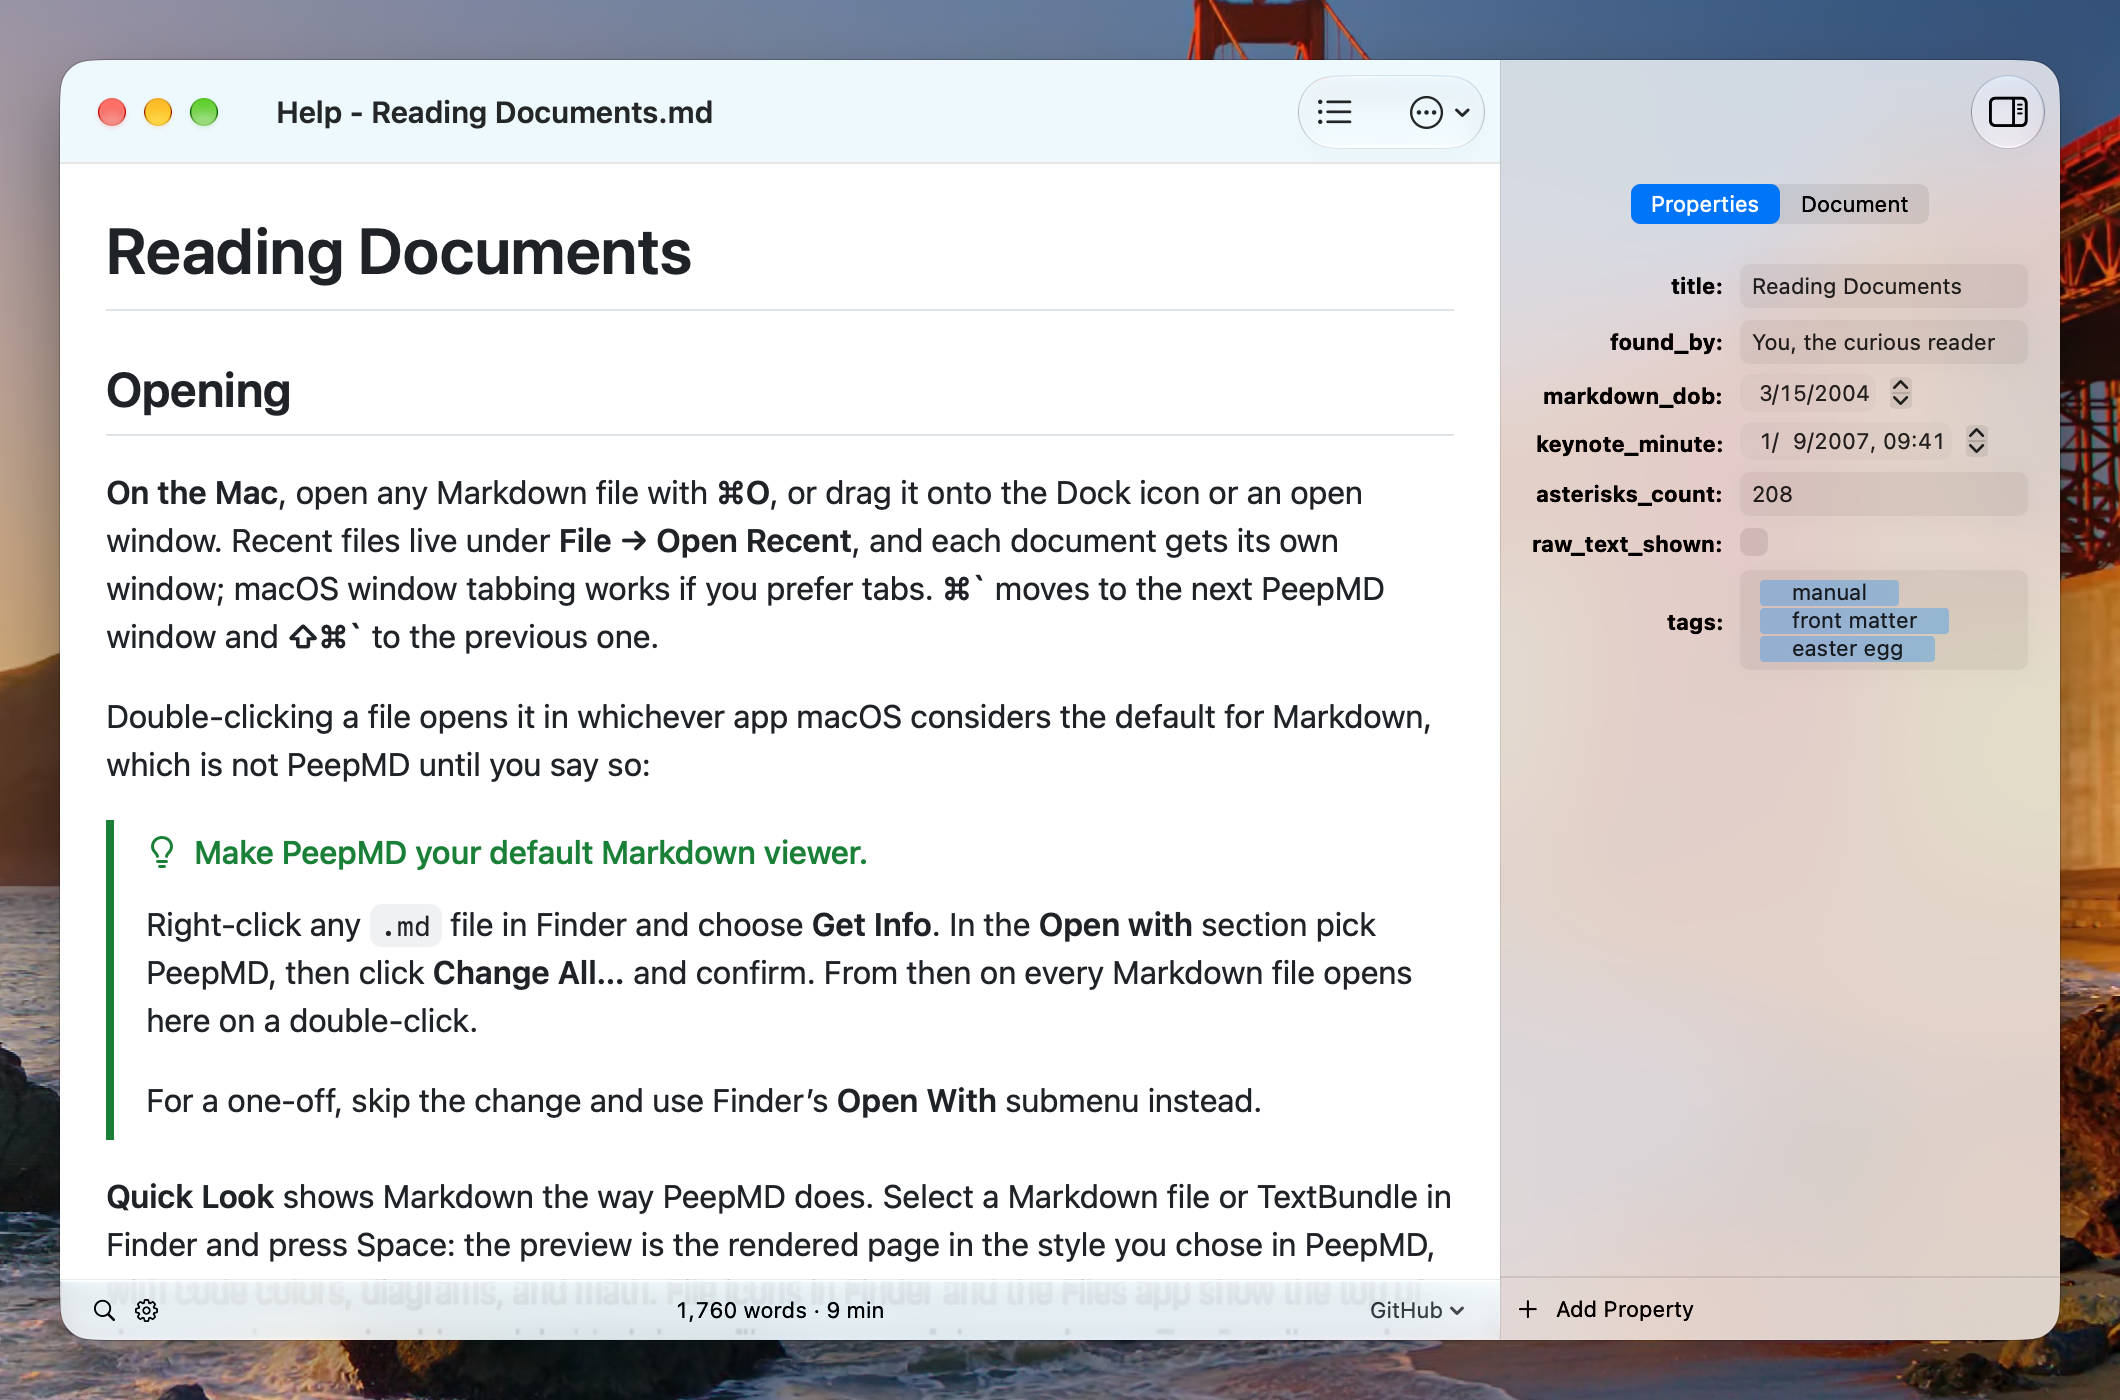
Each property is a field of the type its value has: text, a number, a switch for true and false, a date picker for 2026-10-08, a date and time picker for 2026-10-08T14:30:00, and tokens for a list, where a comma or Return makes the next token and Backspace removes one. Text is saved to the file when you press Return or leave the field, and a switch, a date, or a token is saved as you change it. Option-Return starts a new line in a text value, and on the Mac so does Shift-Return. Only the lines that hold that property are rewritten, so comments, order, and spacing stay as they were. A nested value is shown as written and cannot be changed here.
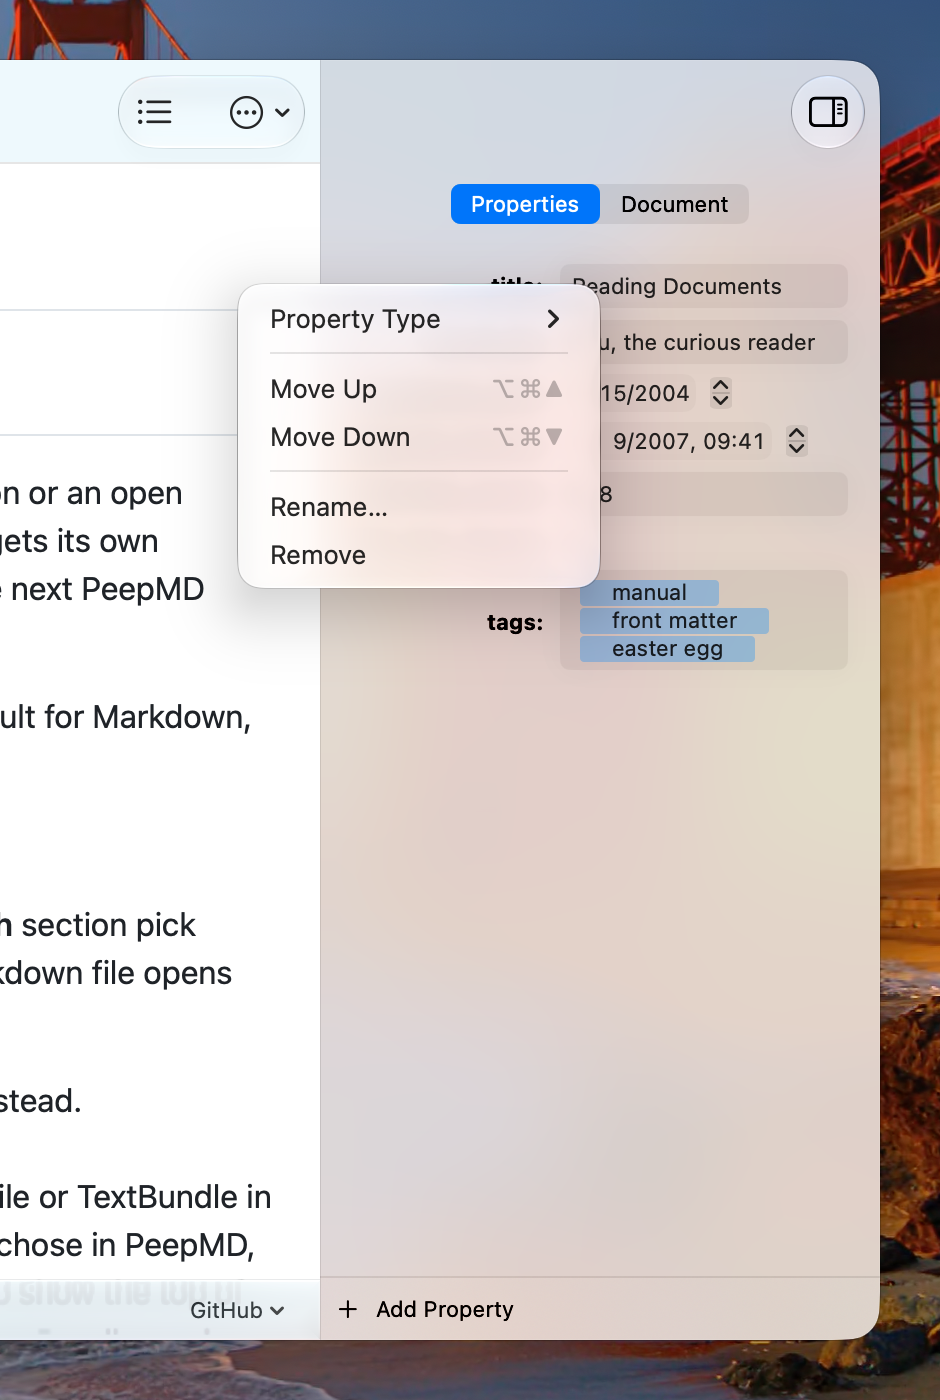
Add Property makes a new property with a name and a type, in a document without front matter too, where it starts the block. On the Mac it sits in the bar at the foot of the inspector and in the menu of a right-click on the inspector's empty space, and on iPad and iPhone it is the last row of the inspector. Edit → Add Property… (⌃⌘P) works on the Mac and on iPad with a keyboard. Name the property and press Return, and a text, number or list property's value is ready to type. Right-click a row on the Mac, or touch and hold it on iPad and iPhone, for its menu: Property Type, Rename…, and Remove. On iPad and iPhone a swipe removes a row. To change the order, drag a row to its new place, or choose Move Up or Move Down from its menu (⌥⌘↑ and ⌥⌘↓ while its field has focus). The property moves with all its lines, and comments between properties stay where they are.
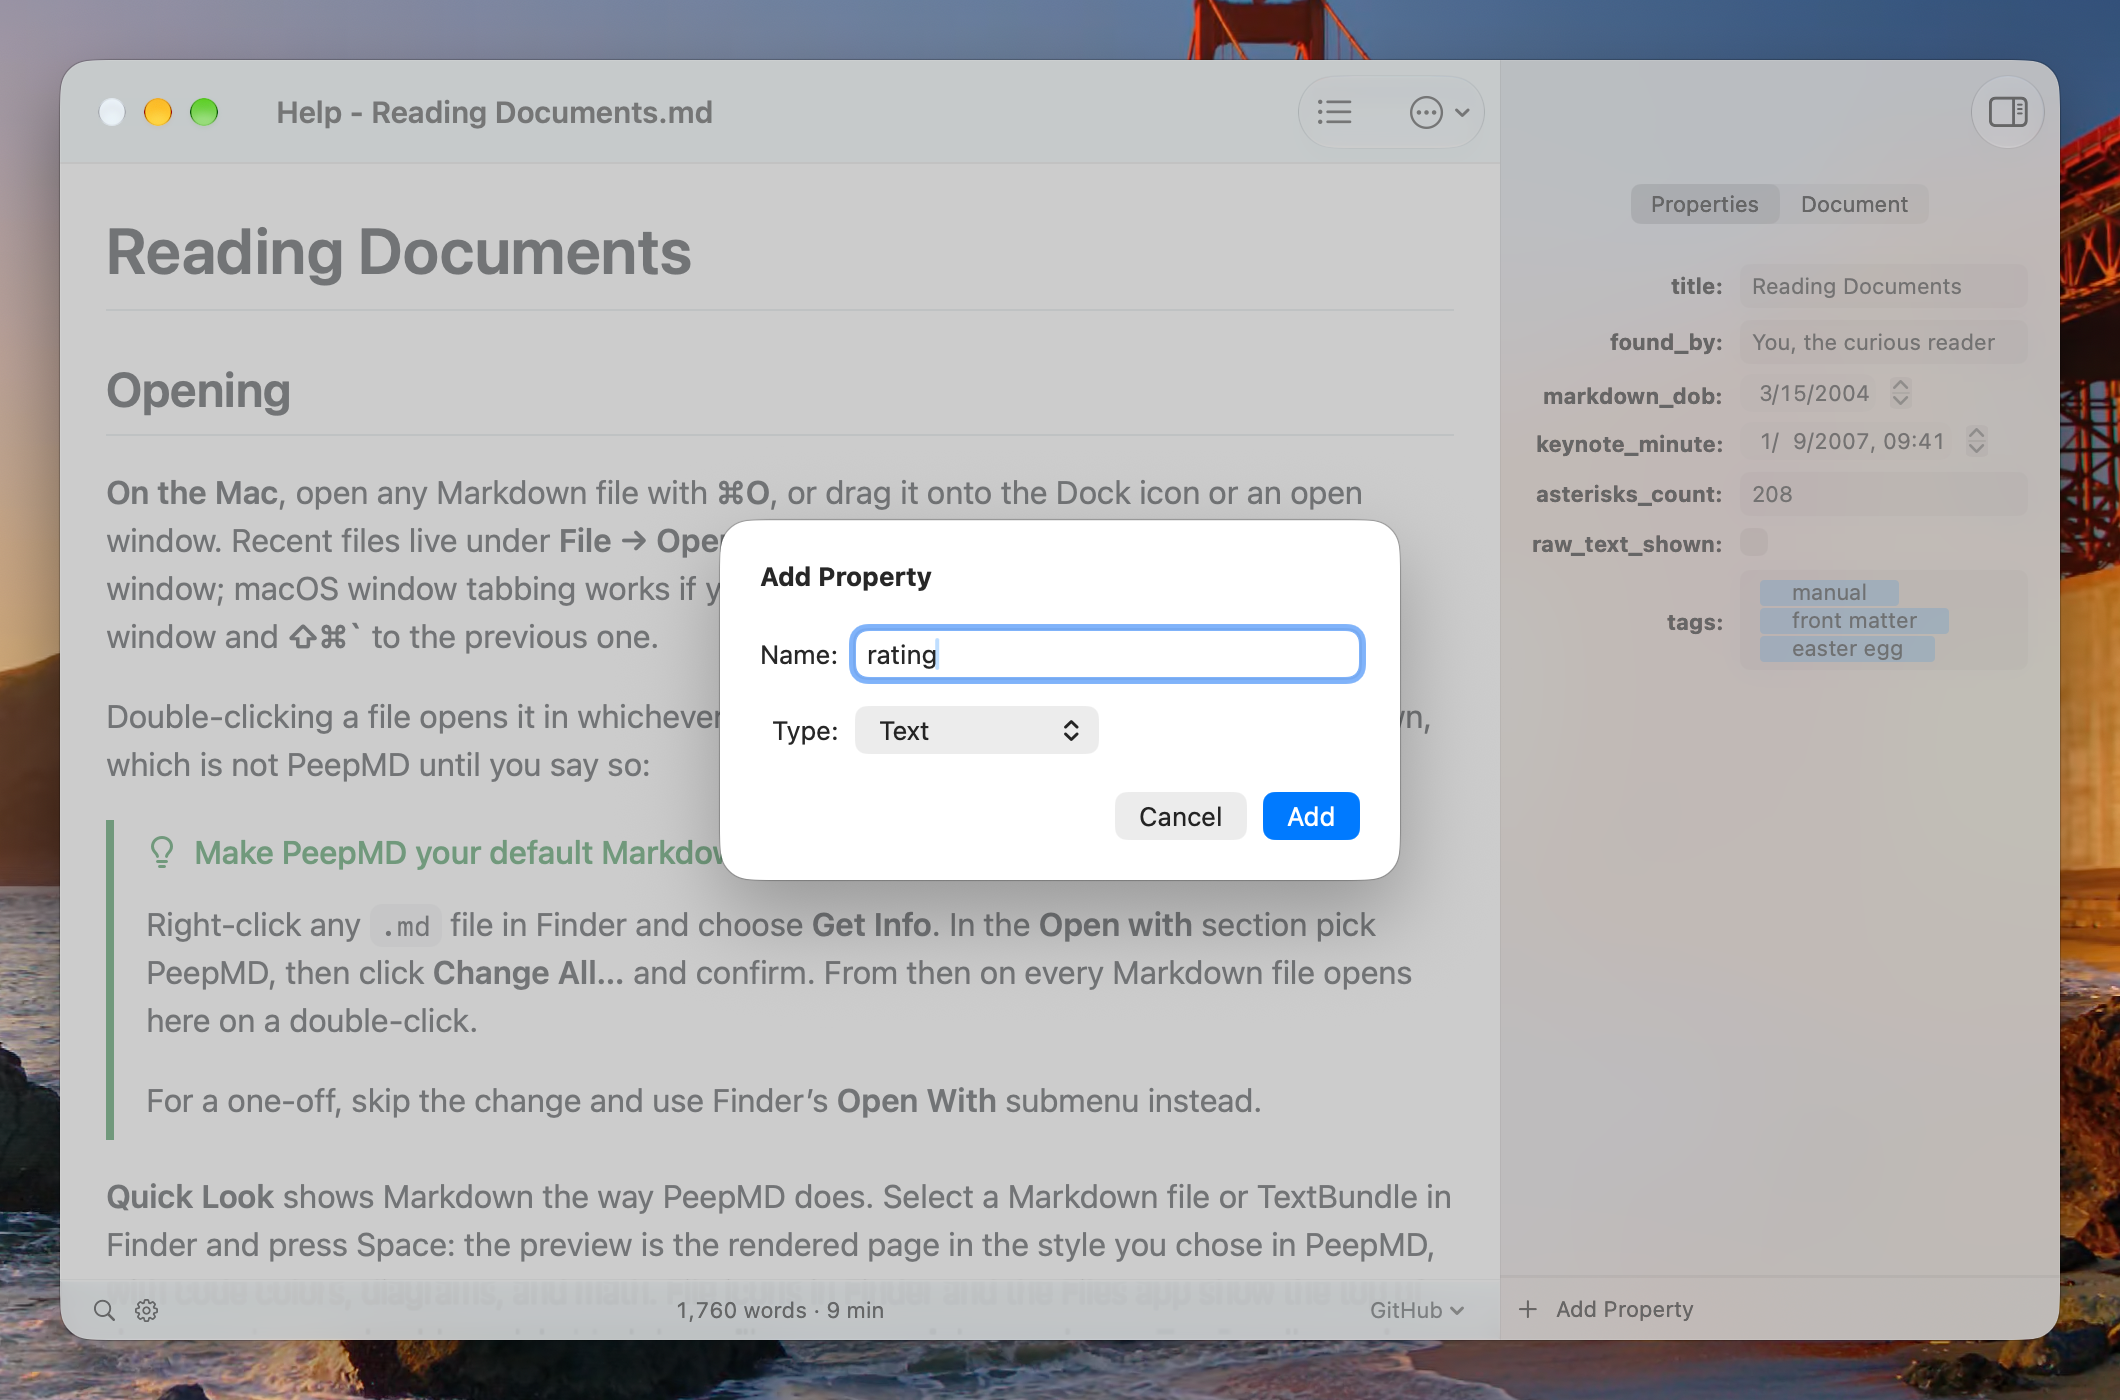
With a keyboard, Tab and Shift-Tab move between the text, number, and list values, and from the last back to the first. Opening the inspector, or choosing its Properties side, puts the cursor in the first of them.
A type chosen for a property applies to every document with a property of that name, the way Obsidian keeps one type per property name for a vault. Automatic goes back to whatever the value's shape says. Choosing a type the value does not fit reshapes the value: text becomes a list by splitting on commas, a list becomes text by joining with commas, a date gains a time of midnight, and a value that cannot be read as the new type starts over empty.
This page has a few properties of its own.
Document
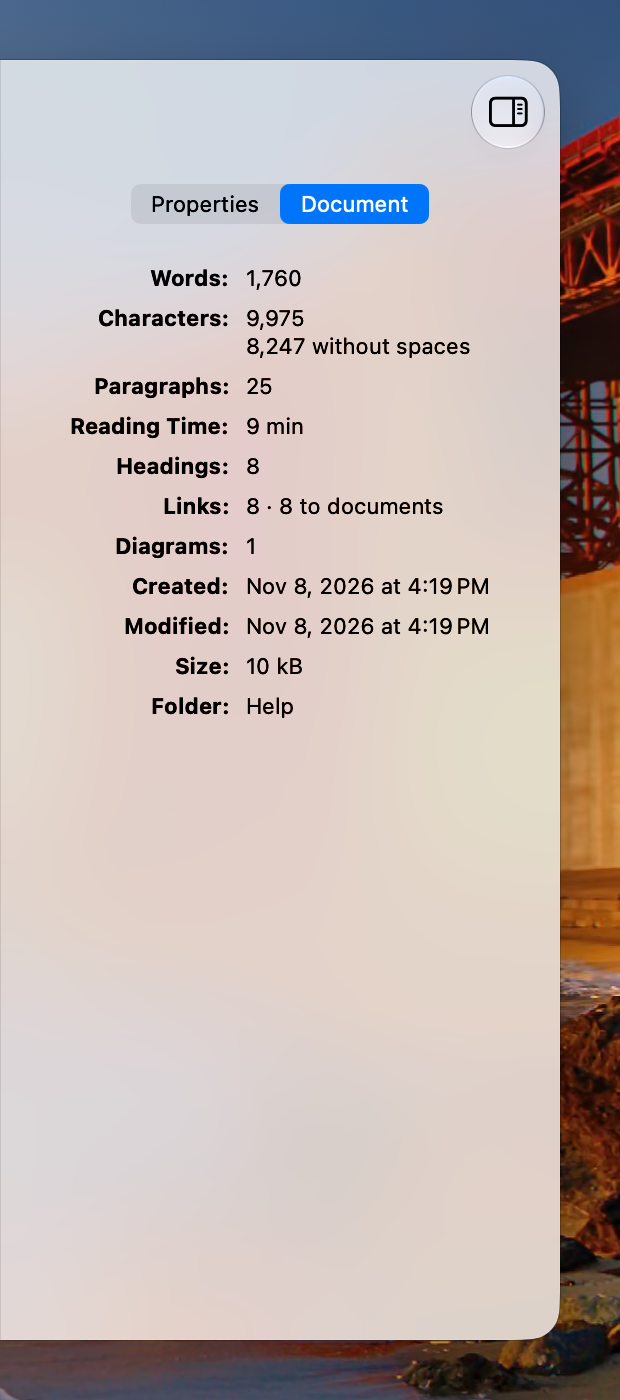
The switch at the top of the inspector turns between Properties and Document, and the inspector keeps the one you chose. On the Mac, View → Inspector → Properties (⌥⌘1) and View → Inspector → Document (⌥⌘2) go straight to either side, opening the inspector if it is hidden and closing it if it already shows that side; the same keys work on iPad with a keyboard. The Document side shows figures about the document as it is now: words, characters with and without spaces, paragraphs, and reading time; tasks done out of all of them; headings, links, images, footnotes, code blocks with their languages, diagrams, and equations, each when the document has any; and the file's created and modified dates, size, and folder. They are counted from the document itself and never written into it, so they are always current. Select text in the preview and the figures count the selection instead; select nothing and they count the whole document again. Right-click a figure on the Mac, or touch and hold it on iPad and iPhone, to copy it, and on the Mac the folder's menu has Reveal in Finder.
Live reload
PeepMD watches the open file with kernel events, not polling. Every save from your editor appears in the preview within a beat, including the atomic write-and-rename saves editors perform. Your scroll position holds through the reload, so keeping PeepMD beside your editor just works. If the change you just made is off screen, the preview scrolls to it, and the paragraph it landed in flashes briefly so your eye finds it. That is Follow edits in Settings, on by default on the Mac and Vision Pro and off on iPad and iPhone, which are readers rather than second screens.
If a preview ever looks stale, force a fresh render: ⌘R on the Mac, or pull down on the document on iPad and iPhone. Returning to PeepMD from another app re-reads the file too, so an edit made elsewhere is already there when you come back.
The workflow this app is built for:
graph LR
    A[Your editor] -->|save| B(PeepMD re-renders)
    B --> C[Preview updates in place]
    C -->|keep writing| A
Finding your way around
- The list button opens the Table of Contents: every heading, indented by level. It sits in the toolbar on the Mac, iPad, and iPhone, and in the ornament beside the window on Vision Pro. On the Mac (⌥⌘C) you can arrow through it with the preview scrolling live, then press Return to dismiss; elsewhere it is a sheet: tap a heading to jump there.
- Find searches the document: press ⌘F, or use the magnifying glass, in the status bar on the Mac, iPad, and iPhone and in the ornament below the window on Vision Pro. Return or ⌘G steps to the next match and ⇧⌘G to the previous; on iPad and iPhone the system find bar carries its own arrows and a match count. Escape or the ✕ closes it.
- Links like this one jump within the document; links to other Markdown files open in PeepMD (that is how this manual works), and so do wiki links; web links open in your browser.
Zoom
⌘+ and ⌘− scale the text, ⌘0 returns to actual size, and a trackpad pinch magnifies. On iPad and iPhone the text size follows Dynamic Type until you choose a zoom of your own, and pinch zooms the page. Your choice is remembered across launches.
The status bar
On the Mac the bar runs along the bottom of the window: a magnifying glass and a gear on the left for find and Settings, a live word count and estimated reading time in the middle, and the active style on the right, which you click to switch. Both find and Settings are on the menus too.
On iPad and iPhone the bar floats above the document as a glass capsule rather than sitting under it, and steps out of the way while the find bar is open. It holds the same things in the same order. On the narrow iPhone layout there is no room for the figures inline, so an ⓘ button in the middle shows the word count and reading time stacked in a popover, and tapping the style name opens Settings on the Theme pane rather than a menu.
What the bar is drawn on, its surface and whether it takes a color, is yours to set under Settings → Appearance.
On Vision Pro there is no bar. The same pieces hang off the window as separate ornaments, on the same ends as the floating bar: find and Settings at the bottom-left, the word count and reading time below the window, the style at the bottom-right, and the Table of Contents and Export stacked to the right. Because they sit outside the window they never cover the text. Look at any of them and its name appears.
Contents · Next: Markdown Syntax